WP Super Cache: Looking for a great WordPress caching plugin to speed up your website? We’ve got three words for you – WP Super Cache. In this article, we will highlight the best features of this WordPress caching plugin. And learn how to set it up on your website.
One of the best parts of WP Super Cache is garbage collection. In short your cache directory actually fills up over time and can slow down your site. Therefore WP Super Cache completes an automated garbage collection process on a regular basis cleans up old files and optimizes your site.
» How to Auto Reduce Server Response Time
How to Install and Configure WP Super Cache:
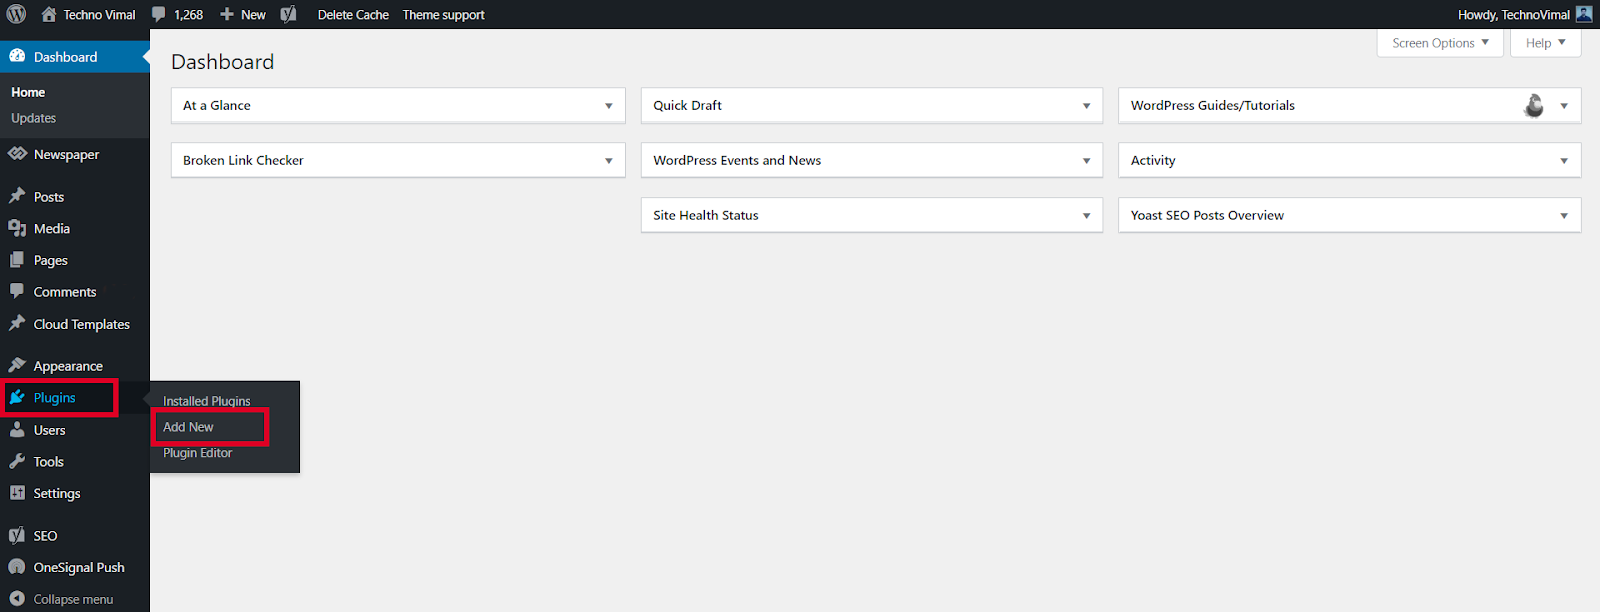
Step 1
- Get to your Admin Panel, go to Plugins and click Add New.
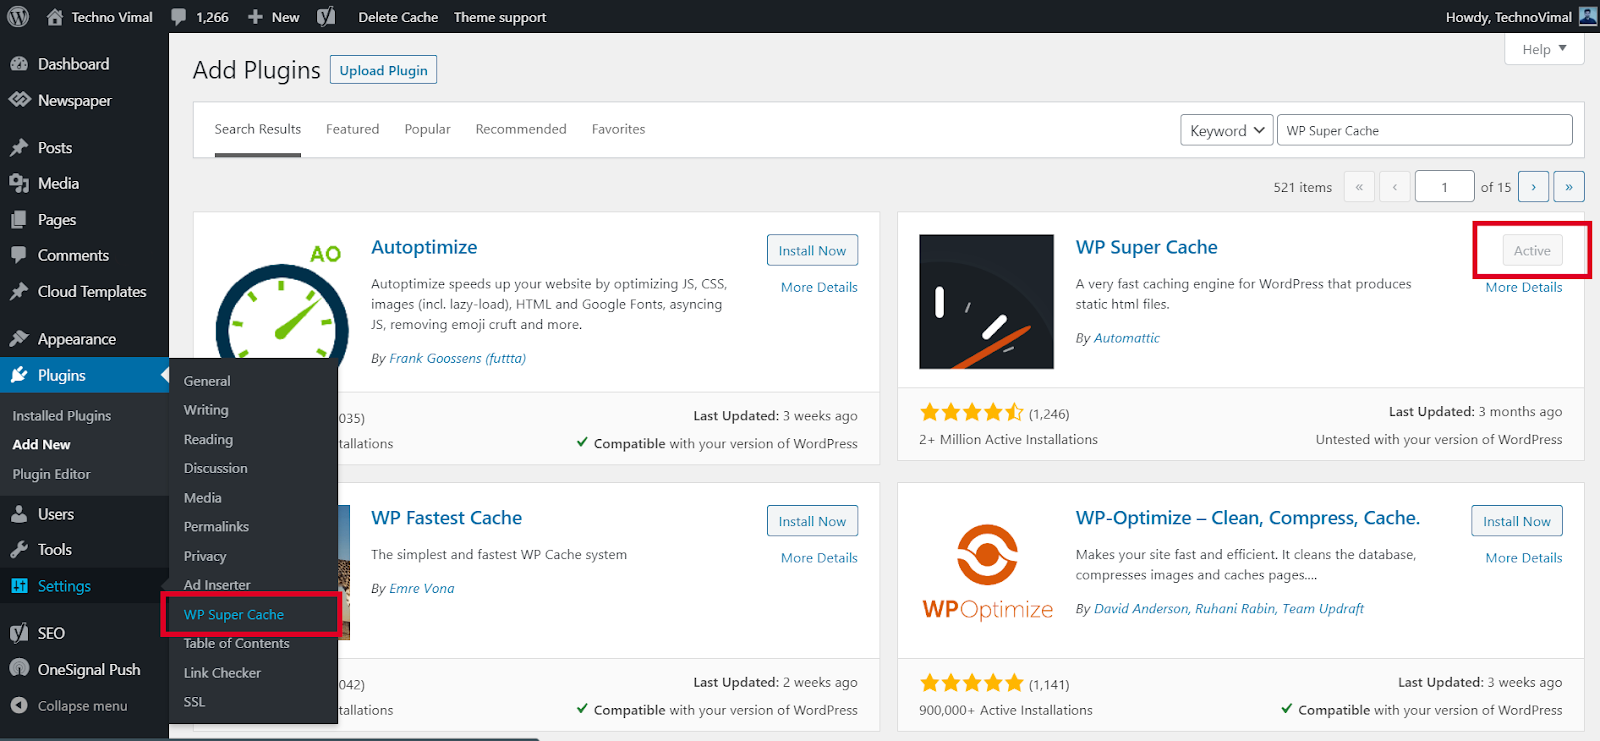
Step 2
- Search for the WP Super Cache plugin and click Install Now.
- Click the Activate button to Activate the plugin.
» 10+ “Best” Free Lightweight WordPress Themes
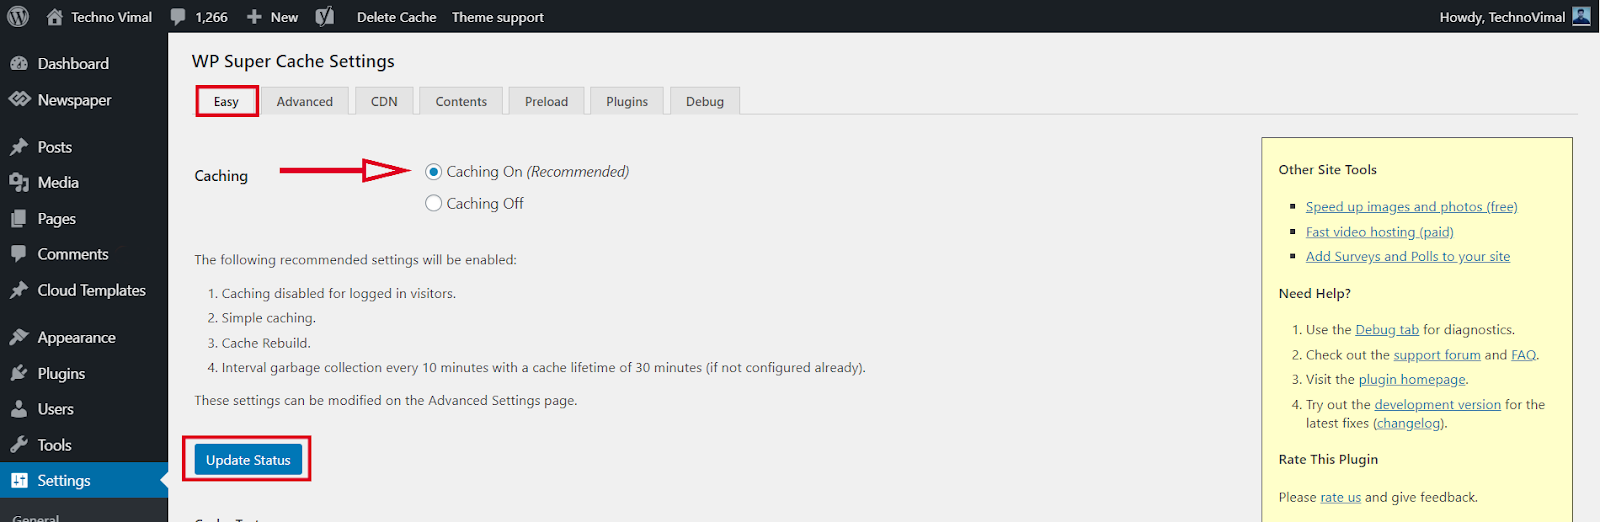
Step 3
- From the WordPress admin dashboard, go to Settings->WP Super Cache.
- Enable web caching by selecting the Caching On option under the Easy tab. Then press the Update Status button.
WP Super Cache Advanced Set up:
WP Super Cache is a powerful plugin and comes with many Advanced Options. These options can further improve the performance of your site.
Step 4
- If you want to configure more settings. Go to the Advanced Tab. There are several recommended settings there, such as disabling caching for registered visitors and enabling page compression. Explore those options and select the ones that suit you best.

Hit Update Status once you’re done. Your website will now be loading much faster.
» Download Free Newspaper X theme for WordPress
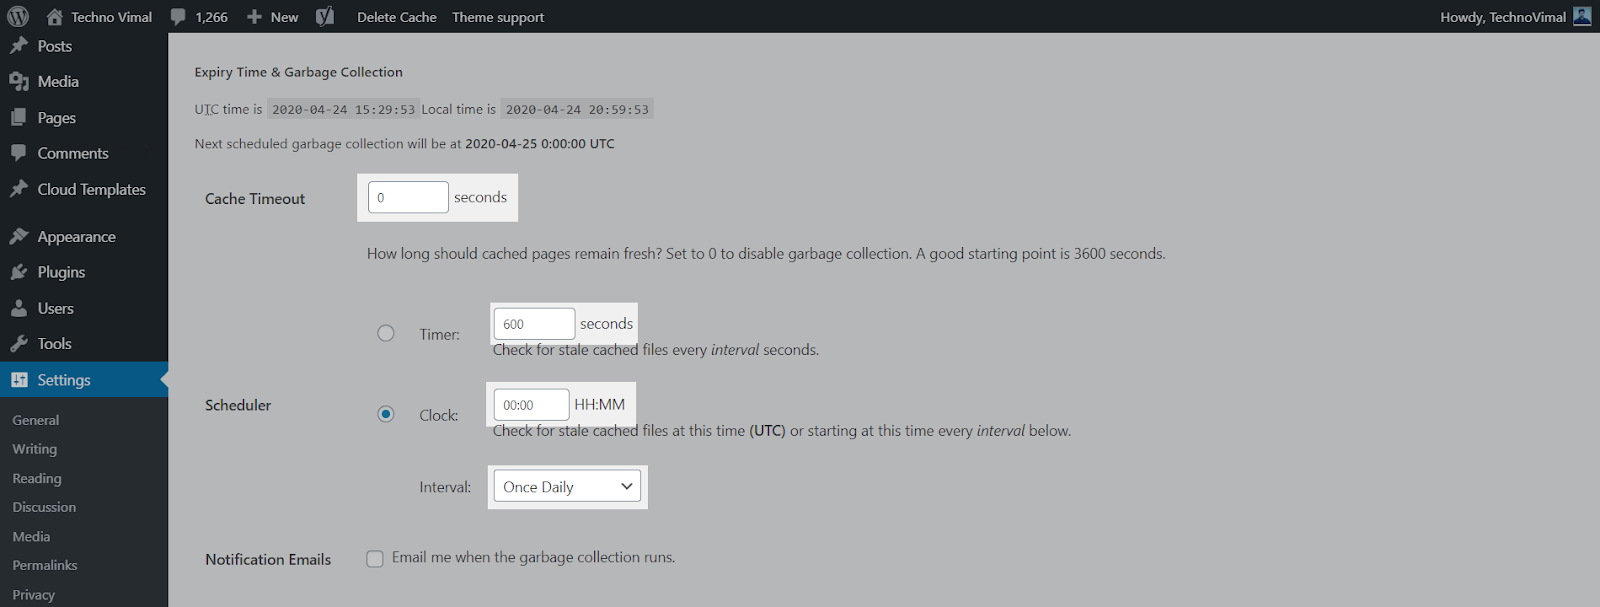
Step 5
- To resolve information about garbage collection, scroll to the Expiration Time and Garbage Collection section on the Advance Settings page and set a time and frequency for garbage collection of cached files on your server.
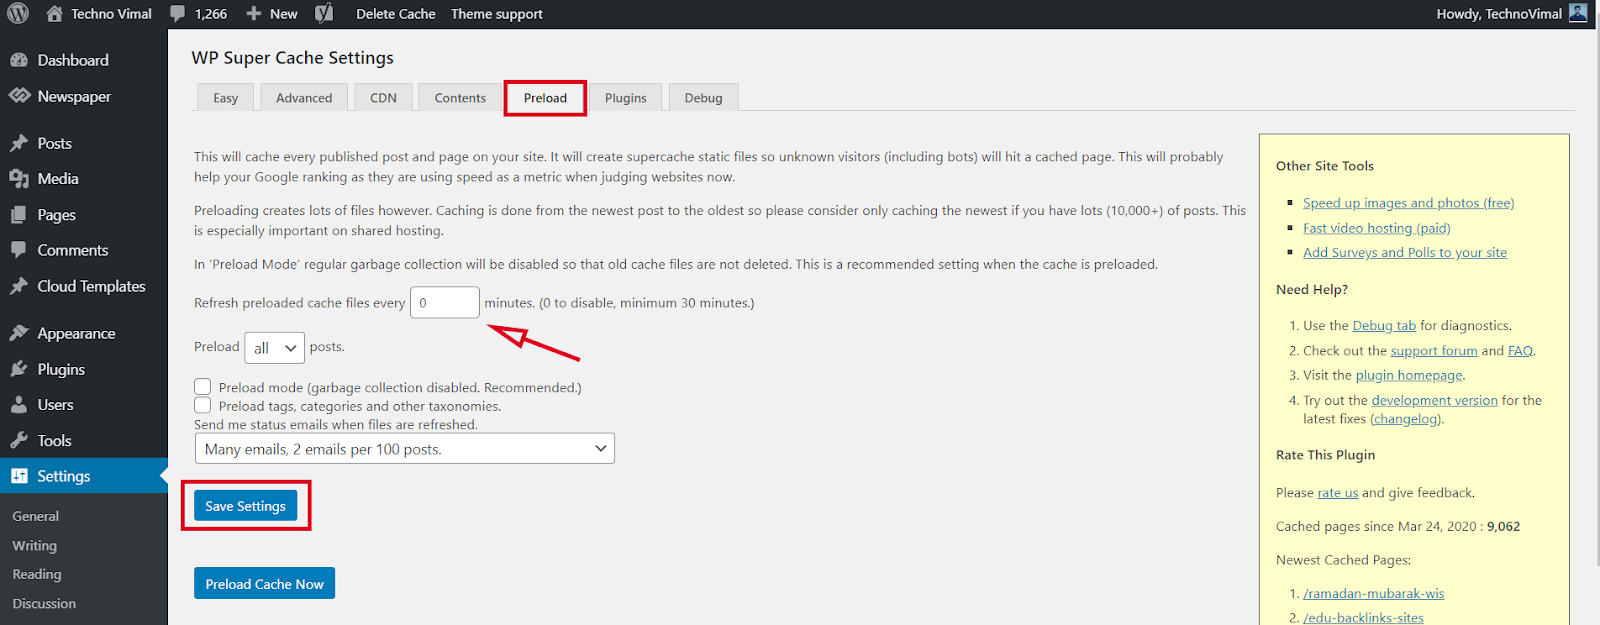
Step 6
- This will cache every published post and page on your site. This super cache will create static files so that unknown visitors (including bots) will hit the cached page. This will probably help your Google rankings because they are now using speed as a metric when looking at websites.
Conclusion
Now that the WP Super Cache plugin is fully installed and configured on your customized website, you should start seeing improvements to your site’s load time.
For other feedback and questions, please leave a comment below.😊
Read More:-
