Today in this blog post, you will know how to take screenshots on a computer or laptop, for which I have told you six ways. Windows Key + PrtSc and PrtSc are the most commonly used Shortkeys, but they take a screenshot of an entire Windows. You can also take Screenshots with the help of Snipping Tools and Windows Key + Shift + S, in which you can customize the screen area.
Apart from all these tools, if you want to do editing after taking screenshots, like giving arrow signs or marking any text in a rectangular shape, you can do it by using free Chrome Extension tools, which is very easy. While gaming, i.e. Win Key + Alt + Prtscn to take Screenshots in Xbox, and Win Key + Alt + G Keys are also used to capture video clips. So let us now understand them better.
Read Also: 7 Ways to Make Your Phone Charge Faster
Nowadays, most of the use of computers or laptops is done by almost everyone for content creation. So in such a situation, there is a need to take a screenshot of some part or sometimes the whole amount of a particular place. Many people do not have the proper knowledge to take screenshots, and the world of content creation, whether it is blogging or YouTube, that is, creates a hindrance in your work.
That’s why we should know almost every way to take a screenshot. So that whenever we need a screenshot, we can capture it and use it. Why not, after all? So let’s get started.
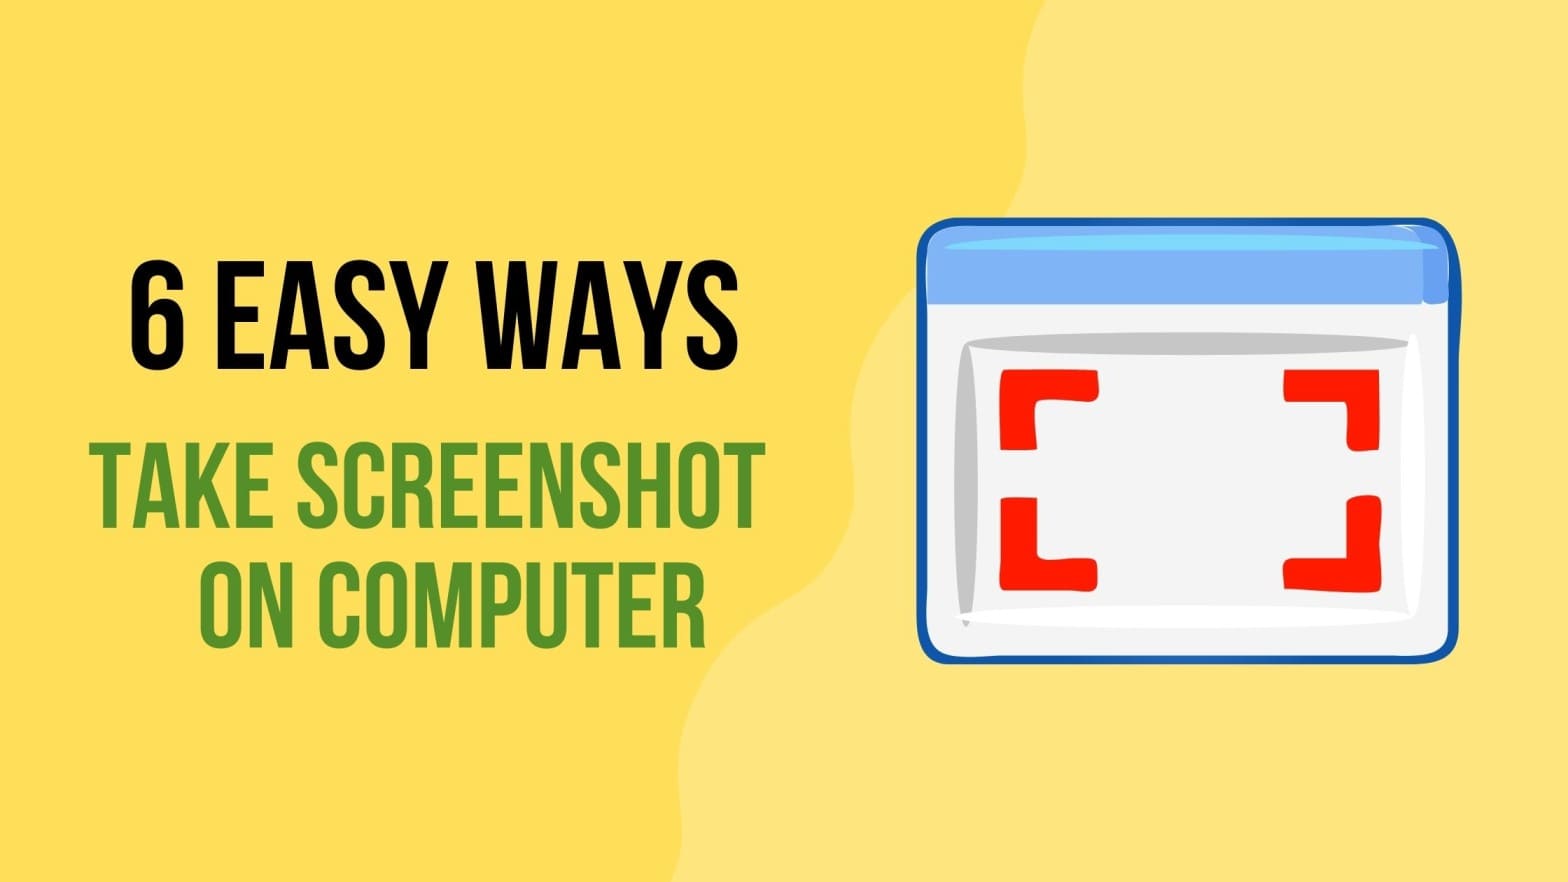
How to Take Screenshots on a Computer?
By the way, everyone can take a screenshot on the computer. But I have told you the most accessible and valuable method for you. There are also some such methods, for which you have to press one or two shortcuts from the keyboard, and the Screenshot will be saved on your laptop or computer.
There are also some ways by which you can take a screenshot of a particular place on the window screen and then add extra elements like an Arrow, Line, Rectangle etc. So let us now understand with steps about six ways to take Screenshots on the computer and where all those files are saved after taking screenshots.
1. Windows Key + PrtScn
This is the easiest way to take a screenshot. You first open the Windows whose Screenshot you want to take, then press Windows Key + PrtScn with your keyboard. The Screenshot of that Windows will be saved in your Computer’s File Explorer in a few seconds. After all, how do we know where our Screenshot is saved? So it’s pretty easy to find. You follow all the steps given below.
How to find the location of the Screenshot image file?
- First of all, you open File Explorer or My Computer. You type File Explorer in the search bar by pressing the Windows keys and entering. Your File Explorer will open.
- Then find and open a folder named Pictures and then you find another folder named Screenshot and open it in this folder. Your screenshots are saved. You can see this in the image below.
2. Windows Key + Shift +S
It is also called Snip & Sketch Tool. It has a border around the image. If you want to take a screenshot of only a specific place in Windows, then for this, you press the Windows Key + Shift + S button from your keyboard and then select the particle area with the help of the mouse cursor area you want to take. Then automatically, the Screenshot of that place will be saved in the clipboard. How to find it now? For this, you follow all the steps given below.
- You open File Explorer and go to the location below, and then you will get all the images.
C:\Users\%USERNAME%\AppData\Local\Packages\Microsoft.Windows.ShellExperienceHost_cw5n1h2txyewy\TempState\ScreenClip
Note: After searching a lot on the internet, I have found the above file location, but this location is wrong. You can try it once by yourself. After being Screenshot, it is not saved in any files or folders. It resides by default in the clipboard of Microsoft Windows, which you can paste anywhere later.
- First of all, open ms paint. You can also open it by typing ms paint in the Windows search bar. Then press Ctrl + V from the keyboard, and Screenshot will appear before you. You then save it by going to the File menu. Note that you can add other elements in the Screenshot, like giving an arrow sign.
3. PrtScn
This is the easiest way to take Screenshots on a computer or laptop. In this, you press the PrtScn button from your keyboard. Then your Screenshot will be saved in the clipboard. Note that its file location is unknown, yet you can paste it into MS Paint or MS Word and keep it in other formats.
You can use it as per step 2 mentioned above. But it takes a screenshot of the whole Windows at once.
4. Snipping Tools
This method is not as simple as the previous three methods. That is why it is of little use in the use of ordinary people. But still, in this method, you get different options (snipping mode) like taking a Screenshot of a particular place, a Screenshot of a whole Windows, a Snip of a specific Windows, etc., and then save it later. Can do.
Apart from this, there are many other features, for example, time duration, and you can also highlight any particular text after taking a snip, etc. To use this method, follow all the steps given below.
- First, by pressing Windows Keys, type Snipping Tools in the search bar and click the Snipping Tool Desktop App icon. As in the image given below, the Snipping Tool will open.
- Now, you select any one mode by clicking on the mode. Like I have chosen Freeform mode. Now select a particular area. Like I have chosen a cloud shape, this area is automatically captured.
- Finally, you save by clicking on File. You can also save it by editing it.
5. Using Chrome Extension
This is also an excellent way to take a screenshot, mainly when writing a blog post or a tutorial article for a website. Then this method is beneficial for you. Because you can take a screenshot of any place using a good Chrome Extension, you can add an arrow sign, rectangular box etc., to it.
I have told you about taking Screenshots using Nimbus Screenshot & Screen Recorder in this method. It is a Chrome extension that can also be used for free. You can take Screenshots in many ways using this (Nimbus Screenshot & Screen Recorder) Chrome Extension.
It has many features: You can take Screenshots of desktop Windows in addition to any Windows web browser. But the condition is that the desktop Windows should be already open. It can also be used for features like Select and scroll, delayed launcher, entire page etc. Apart from taking Screenshots, you can also do screen recording with its help. To use this method, follow all the steps given below.
- First of all, open Google Chrome or another browser. I have opened the Chrome browser. Then by clicking on the three dots eye button, click on Extensions. You can see the below Screenshot.
- Now, you click on the Extension menu bar on the left side, click on Open Webstore, and search Nimbus Screenshot in the search bar. Nimbus Screenshot & Screen Recorder will appear in the list before you, then install it. You can go there directly by clicking here.
- After installing, you can pin the extension, click on the wing, and many options will appear to take Screenshots. You can see this in the photo below. Then choose one option from the given options. Like I have selected Desktop Screenshot.
- After that, select any area with the help of the cursor. The Screenshot preview will appear, and then you can add an arrow sign, rectangular box etc., to it, as I have added.
- You can save it in png or jpg format by clicking save.
You can learn about the Best Screenshot Extensions for Google Chrome from here.
6. How to Capture Game Clips and Screenshots on Xbox?
- The Xbox Game Bar App handles Screenshots and Game Clips Captured on Windows 10 or 11 devices. The following are the standard shortcuts for this:
- Win + Alt + PrtScn shortcuts are used to take Screenshots during gaming. Whereas
- During gaming, Win Key+Alt+G shortcuts are used to record the last few moments of the gameplay.
- To change the time of a recorded clip in Windows, follow the steps below.
- First, click on Settings, then click on gaming.
- Then click on Capture, and under Background recording, set record in the background to On, and choose the time for the final form you want to record.
How do you Find Screenshots or Captured Game Locations on Xbox?
Follow these steps to find the location of the Screenshot or Captured Game in Xbox.
- First of all, typesetting in the search box and then open it.
- Now, you click on gaming. Then click on Captures and open the folders. So in this way, you can find the location of the Screenshot File or Captured Game on Xbox.
Conclusion
Today you have learned in this blog post how to Take Screenshots on a Computer or Laptop, for which I have told you six ways out of which Windows Key + PrtScn and PrtScn Shortcuts are mainly used. But it takes a Screenshot of the whole Windows at once.
I also told you that if you take a screenshot with the help of Snipping Tools and Windows Key + Shift + S, then you can also customize the screen area, that is, by taking a screenshot of a particular place, giving extra elements like arrow sign or Then mark any text in rectangular shape etc.
Ultimately, I told you that you could also take screenshots using good free Chrome Extensions, which are very easy and has many more features than Snipping Tools. I hope you find this blog post very helpful. Comment below for any doubt. We will give you a reply.
")